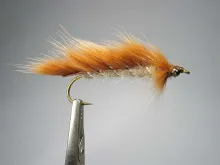
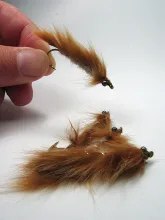
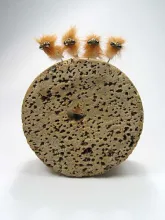
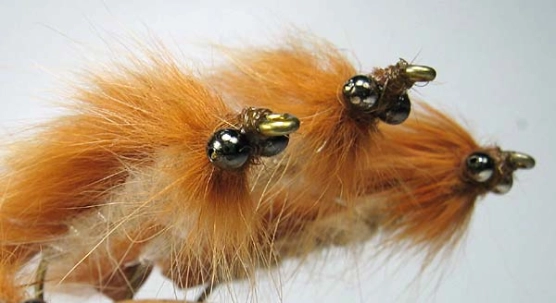
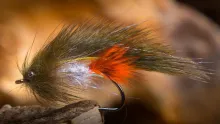
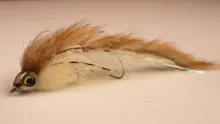
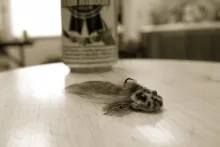
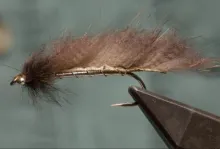
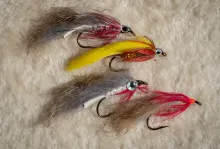
This fly is called Twospotted Fairfly. The two spots in the name comes from the bait, which it is supposed to imitate: the twospotted goby. Gobies are a common kind of fish in the shallow parts of almost all bodies of water.
This fly is called Twospotted Fairfly. The two spots in the name comes from the bait, which this fly is supposed to imitate: the twospotted goby or Gobiusculus flavescens in latin.
Gobies - which are much like sculpins - are an extremely common kind of fish in the shallow parts of all bodies of water - fresh and salt, still and running.
This particular species is extremely common in the shallow spring water in the Baltic area, and is one of the many items on the menu for sea trout.
There's a great picture on Fishbase.org
I have had good success with my old Fair Fly, which on a good day can easily be taken for a goby, but after having seen my girlfriend Birgitte's snorkeling pictures of the twospotted goby in its proper environment and heard her accounts of its large numbers, I wanted to tie something that was a little closer in size and color.
That meant a larger fly than my usual Fair Flies and a color scheme that was lighter than the nutria or mink I usually use for that pattern.
I dug into my storage of fur on skin and found a piece of rabbit, which I judged to have a suitable tone of brown. I usually defer from using rabbit for zonkers. Rabbit is too long haired for my general size of flies. But as this one was to be a bit larger, I thought less of hair length and more of color.
Next step was dubbing. My stock of Scintilla hid a suitable hue. Last was the hook, and after a few boxes had been turned over I found a box of size 2 of one of my favorite streamer hooks the Kamasan B800. The last bits: eyes and rib was collected, and I was ready.
Rabbit skins are really one of the least expensive materials you can buy. They come in a wealth of colors - natural and dyed - and can be found in many craft shops, hobby shops, furriers etc. Many shops even sell half and quarter skins, which enables you to buy several colors and qualities for the price of one whole skin. And buying skins will give you a foundation for zonker strips, rabbit leech strips and dubbing.
I cut strips by hand, but with a simple method that enables me to cut narrow and straight strips without any special tools.
I arm myself with a razor blade or a scalpel. It has to be new and very sharp. Apart from that I use my vise, which I rotate to clamp horiontally.
Now I find the direction of the hair on the skin, select a spot along the edge where I have hairs pointing straight away from the edge, and clamp this spot into the vise with the skin side up.
Now I pull the skin towards myself and press a corner of the blade through the skin close to the vise jaws and draw it steadily towards myself. I start about ½-1 centimetres from the far edge, and I don't cut all the way to the near edge. I usually cut several strips whithout moving the skin in the vice. As long as you can hold the cutting line tight it works. Leave the strips in the skin until you need them. They steady the skin for cutting more strips later on.
You can read much more about zonker strips here.
- Log in to post comments

