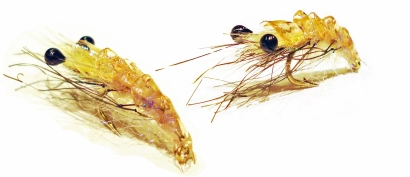
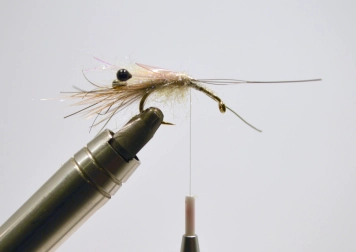
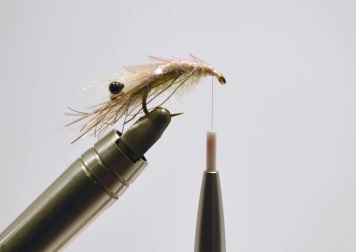
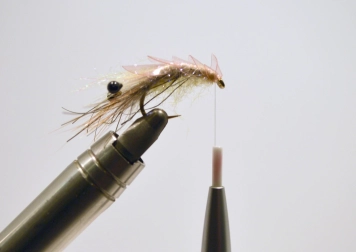
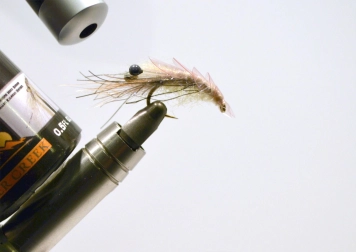
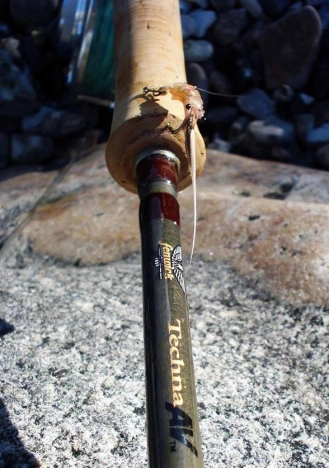
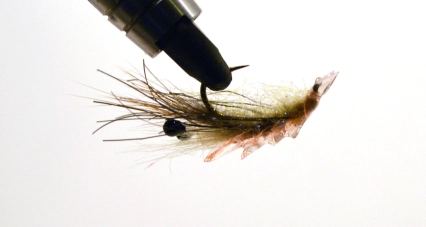
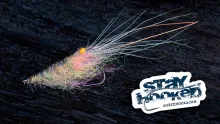
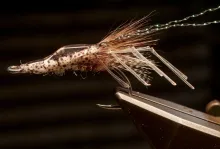
A small shrimp from the hands of Allan Kuhlman who plays with eyes, shells and legs.
This shrimp has been in development and testing for many years and I have now found the materials that makes it almost as realistic as it can be. During my testing period it has caught well and it has a lot of sea trout on its CV. I fish it with three long strips and a small break and that method has worked for me.
I tie Allan Must Shrimp in four versions:
- Winter: Orange shield
- Spring: Tan with clear pink shield
- Summer: Olive shield
- Summer night: Black
Hope this will inspire you to try something different.
Three small tips:
1
Make a knot on the legs and brush it with a steel dubbing brush then divide it into fibers to provide more realistic legs. Remember to trim the length of the legs in each step to provide balance in the fly.
2
Weight is very important and a must in this fly. Tie in lead or tungsten strips on each side or use a heavy hook.
3
With UV glue the fly becomes more durable and will last for several fish (I cannot guarantee anything regarding low back casts). Add between the shields first and cure, and then add a thin layer over the shield and cure again. A little is good, a little too much is not good.
Tying steps
1
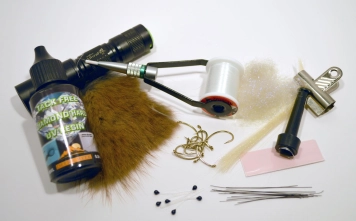
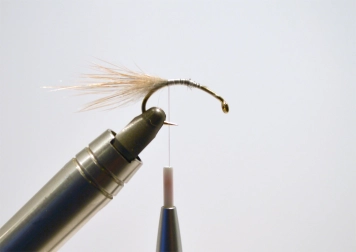
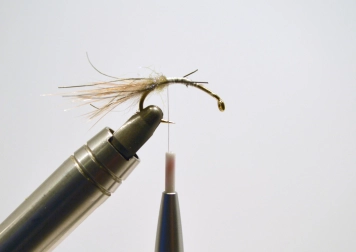
Lay a thread base down to between the point and the barb and tie in muskrat belly in the lower part to form the mouth appendages.
2
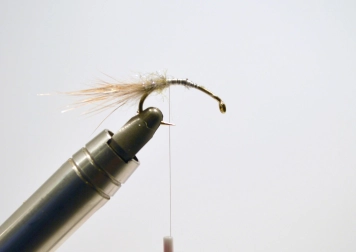
Tie in a lump of Ice Dubbing as a base for the eyes. Brush the dubbing well.
3
Tie a leg on each side of the dubbing. It should protrude slightly beyond the mouth portion.
4
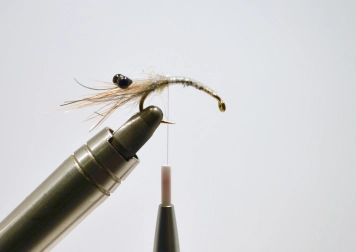
Tie a set of black Easy Shrimp Eyes behind the dubbing. Tie them down on the grooved platform, but cut off so that 2 millimeters of bare shank is left to the hook eye.
If you do not tie on a heavy tungsten hook, now is the time to add some weight like tungsten strips on both sides. This creates balance in the shrimp and is easy to tie on and will fill almost nothing on the hook.
5
Tie in a small bunch of tan DNA fibers as the upper mouth parts between the eyes.
6
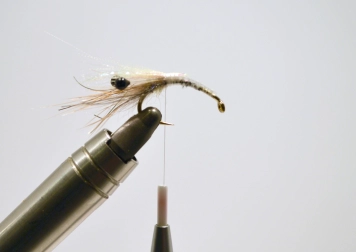
Tie in a lump of Ice Dubbing and brush it down so that it mixes with the legs. Tie in the first shield part so that the edge is approx. 2 millimeters behind the eyes.
7
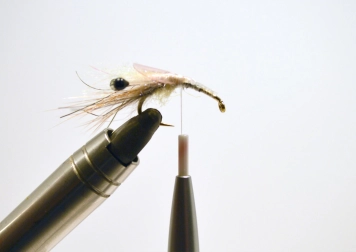
Tie a new set of legs on each side, reducing the length of the legs for each new step you tie. Tie a new shield part on so it protrudes a third over the first shield. This step must be done two more times. Dubbing - legs – shield - dubbing - legs - shield.
There are four shield parts in total. And remember to brush the dubbing for every step.
8
If your shrimp looks like the picture, you are on the right track. Now, the last lump of dubbing is tied in and the last shield part - no legs this time.
9
The part of the shield projecting over the hook eye should now be folded up so you can finish the thread behind the hook eye with a drop of varnish. Put the shield part down over the eye again. of Cut an inverted V in the shrimp tail and free access to the hook eye.
10
Apply a thin layer of UV Diamond Hard UV glue the top of the shield as well as a little between the shields. Cure with UV light. The shrimp fly lasts much longer and this gives a natural glow in the water.
- Log in to post comments


