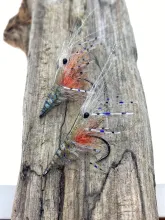
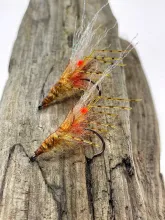
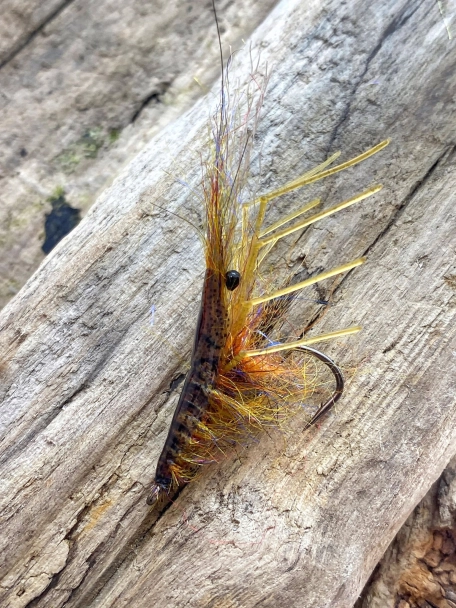
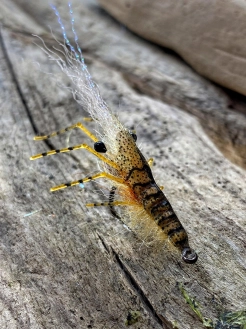
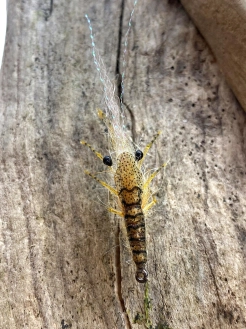
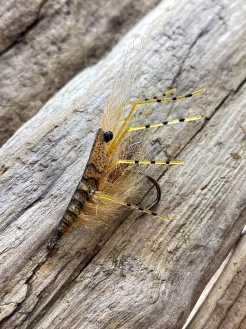
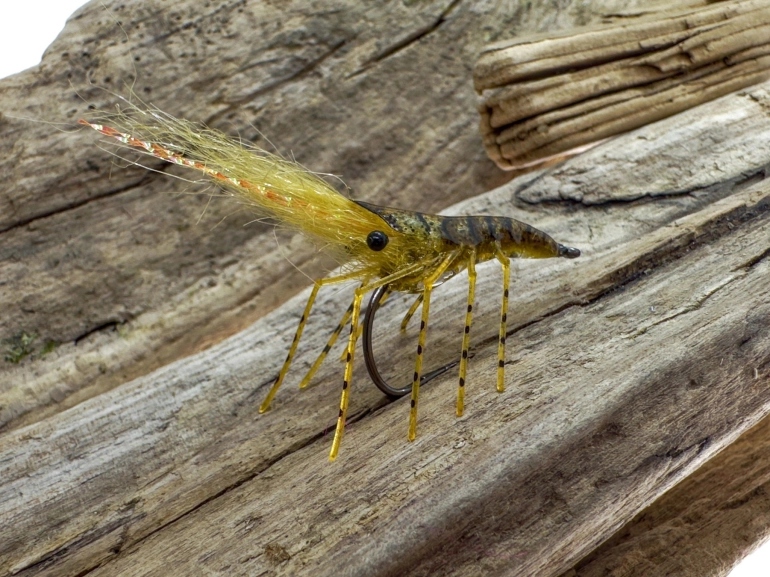
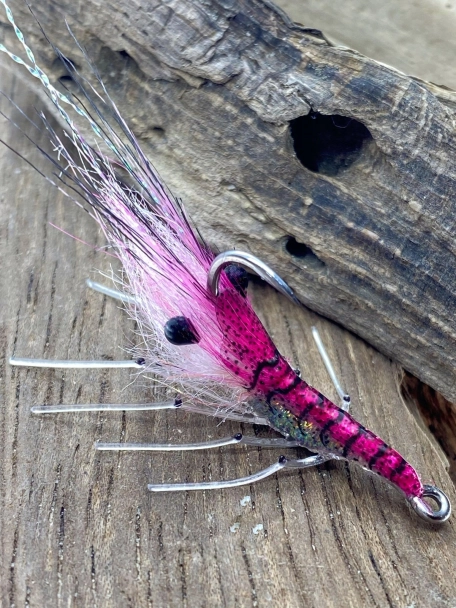
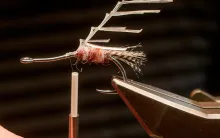
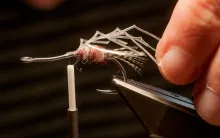
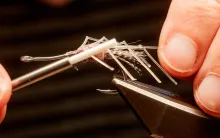
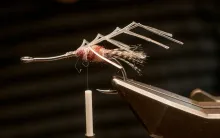
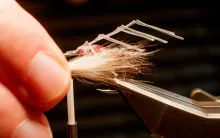
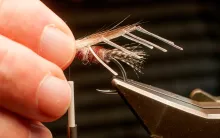
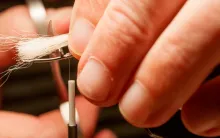
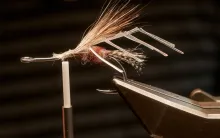
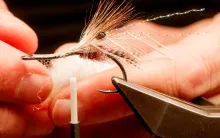
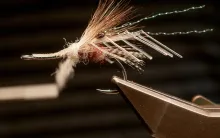
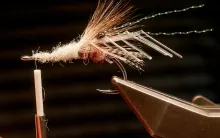
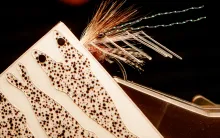
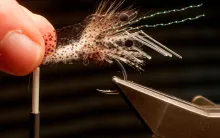
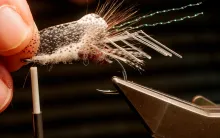
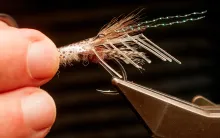
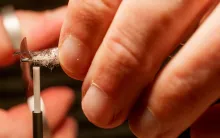
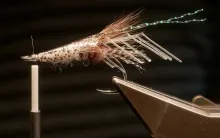
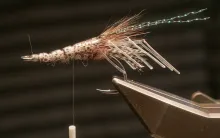
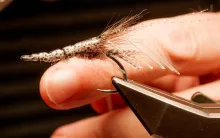
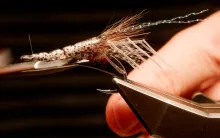
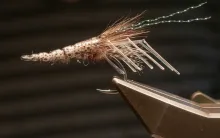
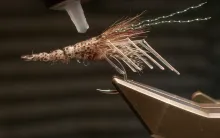
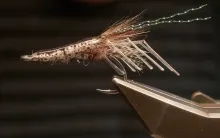
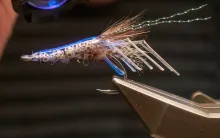
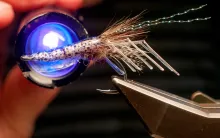
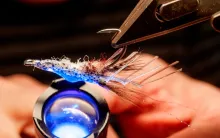
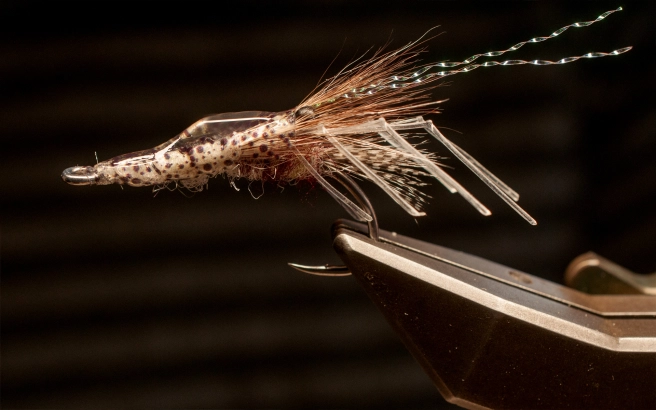
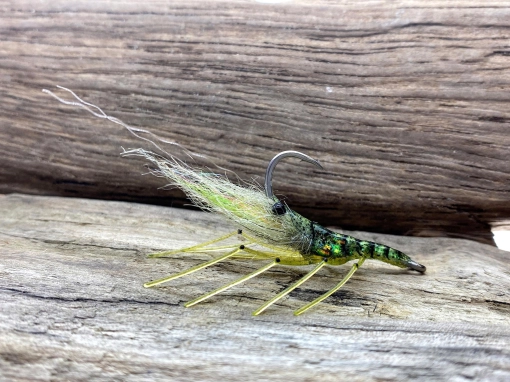
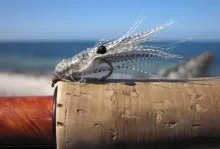
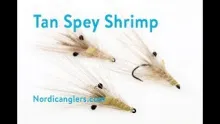
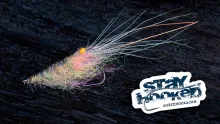
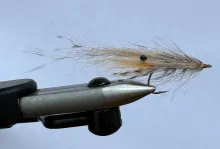
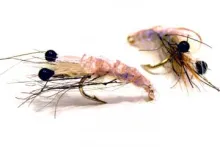
My shrimp patterns have always been pretty impressionistic. That was until I saw a video using some pre-made legs… then I dug into my stash, and a fairly realistic shrimp emerged
I respect people like Danish Kern Leo Lund, whose Perfect Leo Shrimp is a benchmark for many trying to imitate a shrimp. Kern’s fly is tied using ordinary materials like dubbing, hackle, classic mono eyes and some jewelry rubber string for legs. These materials are meticulously combined and arranged on a hook, ending up in a fly that looks surprisingly much like a real shrimp.
I personally never had the patience to tie these flies. Be it Kern’s shrimp, the Honey Shrimp or other very realistic imitations. My shrimp flies – actually all my flies – typically follow a much more impressionistic path, and while the shrimp flies do have the prominent features of a shrimp, they certainly don’t look like one.
But they do a pretty good enough job of luring a fish now and then, and I’m fine with the fact that they don’t look like the real thing. As long as the fish like them!
That’s why I end up with One Mallard Shrimps, Opossum Shrimps, Mundane Shrimps and (non-pink) Mini Pigs in my boxes. They are close enough for my taste.
The ESL Shrimp
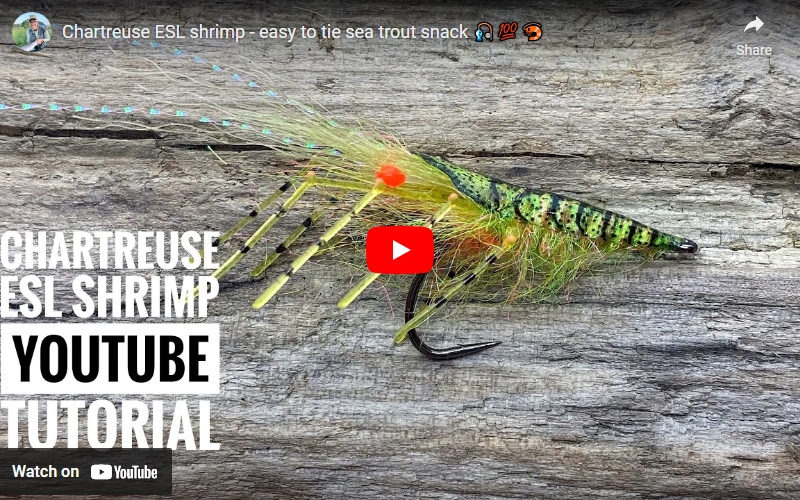
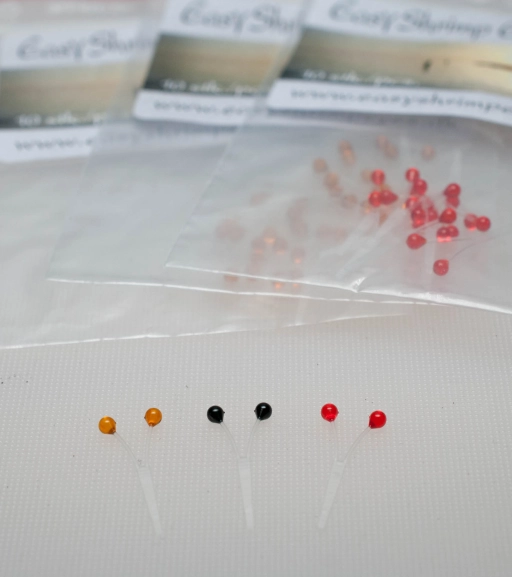
But I watched a video by Danish tyer Christian Stoksted Krogh the other day, where he tied a pattern called ESL-Shrimp originated by another Dane, Kenneth Hejnfelt. ESL stands for Easy Shrimp Legs, and for those who don’t know, these are pre-made legs made for shrimp flies, produced by the Danish company Easy Shrimp Eyes. And yes, they also make eyes. More on that later.
You can see some of Christian's videos here:
I have had a bunch of these legs laying around for a long time, but never really used them. First off all my shrimp flies typically use simpler materials, and secondly, the few times I tried using them, I was really annoyed by the legs, not finding them easy at all! I struggled with tying them in, and – like when trying to tie Kern’s fly – found it really hard to arrange them and avoid squashing them when tying them in, adding dubbing and putting on a shell.
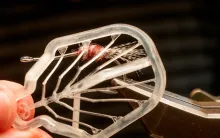
That always bothered me, because the concept is actually pretty brilliant. The legs are injection molded in soft, thin, translucent rubber, and once cut off their frame, they look so much like real shrimp legs! Add a few dots with a marker, and it’s even more convincing. But getting them to sit properly on a hook had been a challenge I never overcame – until I saw what Christian did – and Kenneth before him, I guess.
It turns out I had been doing it wrong all the time! Using the legs in the proper way was the solution to all my woes.
Since I still had quite a few unused sets of legs, I decided to give them another chance.
|
|
|
|
|
|
Pre-made eyes, legs, back
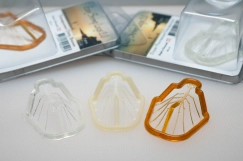
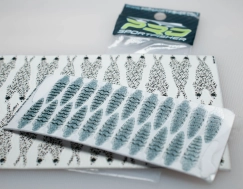
Christian also used both pre-made eyes and a pre-made shellback, and I was also fine with stocks on that. I have used Easy Shrimp Eyes many times, and really like the ease of use and great looking result. Another Danish company – Pro Sportfisher – makes a bunch of different scud and shrimp shells printed on a clear rubber material and stamped out. I had some of those in my material boxes too.
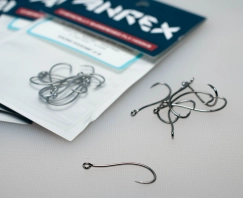
And what hook do you use for a shrimp? Well, a shrimp hook of course! And I had plenty Ahrex SA250 Shrimp hooks, so a shrimp hook it was.
With a proper shrimp hook, with shrimp legs, shrimp eyes and a a shrimp back, the shrimp fly was almost literally already made, and I felt I was armed and ready to take on a more realistic shrimp fly.
Martin Joergensen
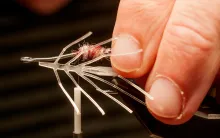
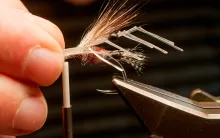
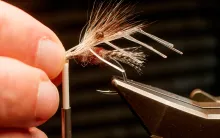
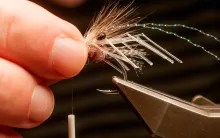
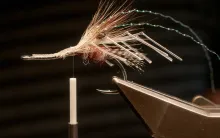
The trick with the legs, I could see from the video, was NOT to tie them in and arrange them too precisely, but just let them hover over the fly without securing the spine between each set of legs. In this way it was obviously much easier to avoid catching them with thread wraps and materials, and they actually end up in a position on the fly that is much more natural compared to tying them down on the hook shank along the full length of their "spine" as I had wrongly done before.
Magazine
Second generation legs
A short note on the nature and usage of these legs may enlighten the tyer who hasn’t seen or handled them. They are the second generation of Easy Shrimp Legs, and a vast improvement in all aspects over their predecessors. We are essentially talking a set of eight legs, molded in such a way that they sit very much like the legs on a real shrimp. They are thin – like 1 millimeter Ø or about 3/64th of an inch. They sit inside a frame, from which you cut them loose before using them. And they all sit on the aforementioned spine, so that they keep their position when handled. The material is soft enough to give some movement, but not as soft as say traditional rubber legs.
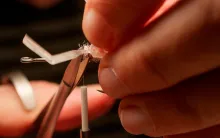
They also sport a small tail, but when used as shown here, that doesn’t come into play at all. I just cut it off. You simply use a pair of scissors to cut the legs off the frame and trim off the tail.
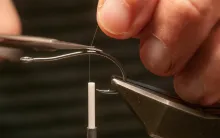
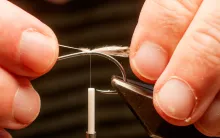
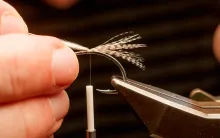
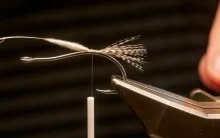
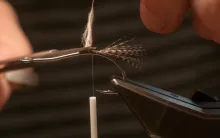
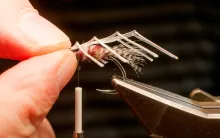
The genius of the ESL pattern is that the legs are only attached in the rear, positioned mid-hook and left to move freely over and in front of the hook bend. This not only makes it much easier to tie them in, but also places them where they should be: under and in front of the eyes.
So I sat at the vise and was full of confidence, and a few minutes later the first specimen came out very convincing!
Tying
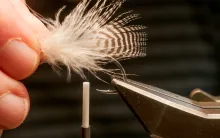
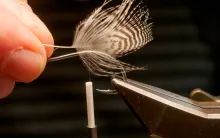
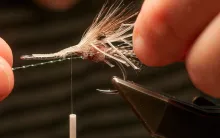
I use monofilament nylon for tying the flies. It basically disappears, which is great when tying something that’s supposed to be translucent. The front of the fly is all the small mouth appendages that sit between the legs and under the eyes of the natural. These can be made with hair, feather barbs (mallard, partridge, grizzly or any variegated feather) or basically anything you have or prefer. I tried with mallard as well as hair and CDC. It all works and isn’t critical. A very small tuft will do.
A small ball of dubbing supports the legs and the eyes. Christian uses a lot and in some bright colors. I like my flies skinnier, and here I use some very light colors like white and tan with a bit of olive and/or dull red mixed in.
I use some of British Semperfli’s excellent Kapok, which is a dubbing I have really come to appreciate, and which is perfect for the purpose. It's made primarily for dry fly use, but it comes in dozens of colors, and applies very easily, so I often use it when I need a bit of color on my coastal flies.
If you want to stick to the prefab shrimp paradigm, there’s plenty dubbing named Shrimp out there, like this from TroutLine.
The centerpiece
Once the dubbing ball is in place, it’s time for the centerpiece: the legs.
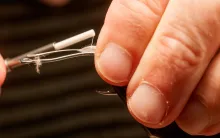
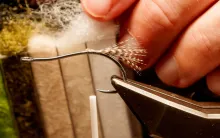
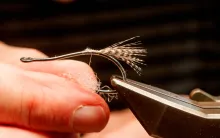
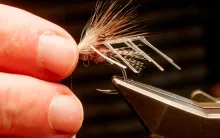
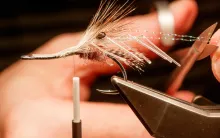
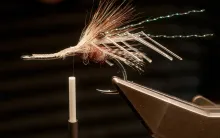
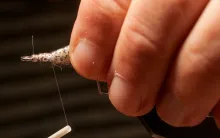
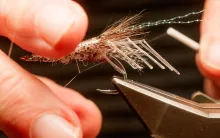
These are placed mid-hook, behind the dubbing, and just tied in over the back of the spine. Once positioned, you can take a few wraps between the two rear sets of legs to secure and control the legs, but just leave the rest overhanging the hook bend. They can now dangle and work freely, and look very much like the legs on a real shrimp.
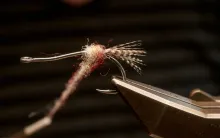
You can add dubbing again, but I like it skinny as I said, so my next step is the eyes. They also sit on the hook shank, and protrude out over the legs and the hook bend.
A very prominent feature of most shrimps is what’s often referred to as "the thorn", but is actually called the rostrum by biologists. It’s an elongation of the shell forward between the eyes, and in my case it is made with a small bunch of natural brown bucktail or opossum. Many shrimp patterns exaggerate this feature immensely. I like it to look a bit more like the natural.
Many shrimps also have some very long and visible antennae, and if you want to add them, now's the time. They can be made with synthetic hair, flash straws, stripped feather barbs, boar bristles or plain hair like squirrel. Sometimes shrimp antennae a very long and bright, sometimes they are almost invisible. You can look at the naturals in your fishing water and adjust accordingly.
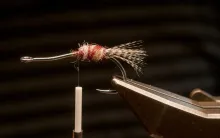
Then some more dubbing to cover the mess behind the eyes and legs and to create a tapered body down towards the hook eye.
For the sake of realism I sometimes tie in a small tail over the hook eye made with some mallard barbs, but I’m sure the fish couldn’t care less.
Martin Joergensen
Shell
The next step is the shell. I use Pro Sportfisher’s 3D Shrimp Shell. It’s made of a thin, rubbery material with various printed patterns, which lend a good deal of realism to the finished fly. You could probably make something yourself from rubber or silicone sheet, but this is The Prefab Shrimp after all, so prefab it is. Pro Sportsfisher has these skins in a bunch of different shapes and colors, and there are certainly some where you don’t have to mutilate them to use them here.
Since the type that I have, has both eyes and a tail, the scissors comes out again, and the shell is trimmed. Off with a good bit in both ends, and the size is suitable.
I tie it in just in front of the hook eye, and pull it forwards. I then wrap the mono in 4-5 open turns to press it into the dubbing and create an impression of segmentation. Since the back of the fly is covered with LCR when done, this isn’t really a critical step, but it keeps things in place. I simply whip finished right behind the so called carpace of the shrimp – the wider unsegmented part in the front. The shell features it both in print and shape.
LCR
One step is left: light curing resin. I take the first and the best bottle I can find, and add some over the shell. A bit of light and it sits there. A very characteristic trait of most shrimp is a hump on the shell, and by adding a little bit of resin at the time and curing it, I can easily build up this feature too.
Finally I sometimes brush out the dubbing a bit on the underside… just because that’s what we fly tyers do with dubbing, right?
Et viola! One very lifelike shrimp has been born.
Endless variations
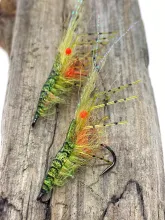
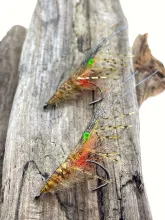
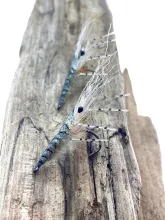
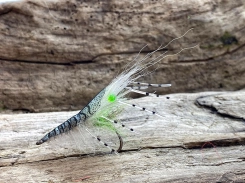
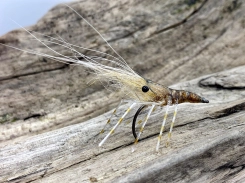
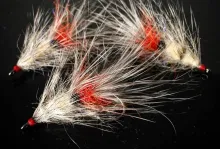
As you can see from Christian's images above, the options for variation are almost endless. The legs, eyes and shells come in a bunch of colors, and you can add accents in the dubbing, and get flies which are almost psychedelic neon as well as some that are more natural. I prefer the natural ones in tan and olive, but clear ones can be efficient and the bright and not-so-natural shrimps are usually also very efficient.
|
|
|
|
|
|
|
|
|
|
|
|
|
|
|
|
|
|
|
|
|
|
|
|
|
|
|
|
|
|
|
|
|
|
|
|
|
|
|
|
|
|
|
|
|
|
|
|
|
|
|
|
|
|
|
|
|
|
|
|
|
|
|
|
|
|
|
|
|
|
Contacts, sources, notes
Easy Shrimp Eyes products are widely available, but if you seek a retailer in a specific location, there’s a store locator on the way on their web site. Until that’s ready I can recommend following them on Instagram (@easyshrimpeyes) and Facebook.
You can also use the contact form to make inqueries.
Christian Stoksted Krogh, who unknowingly inspired this article, is also on Facebook, Instagram (@christiankrog36) and YouTube under the name My Fishing Life.
Pro SportFisher produces a gazillion different types of foils and skins, and those can be purchased directly on their own web site, but are also available by many retailers. Some types can be hard to find, though.
Martin Joergensen
Hand picked for this article
- Log in to post comments


