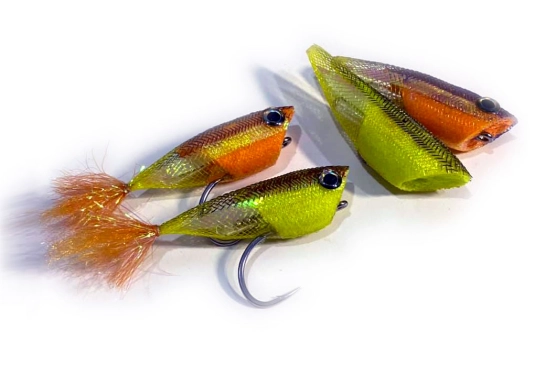
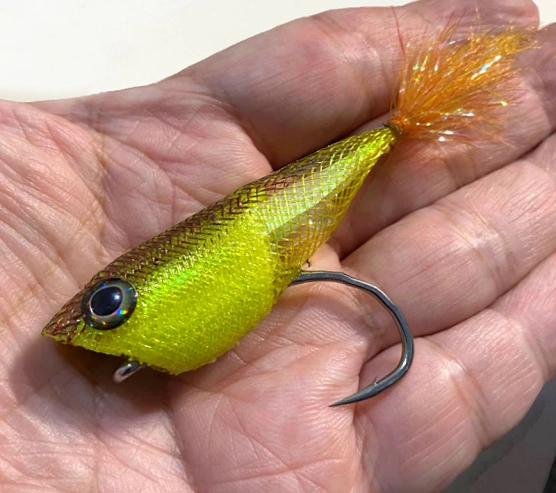
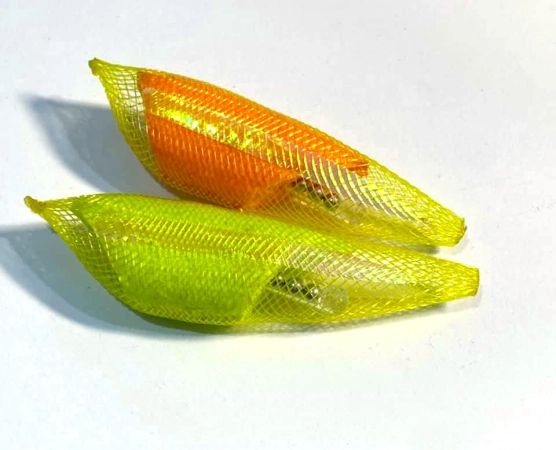
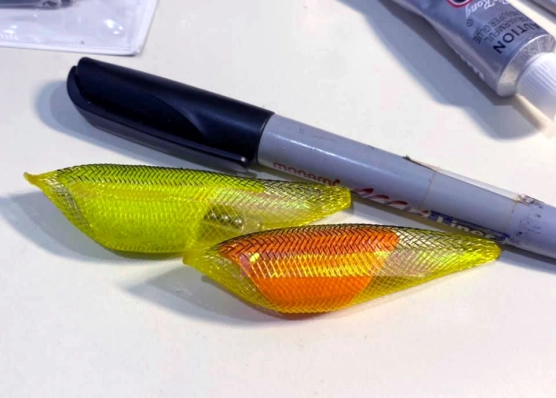
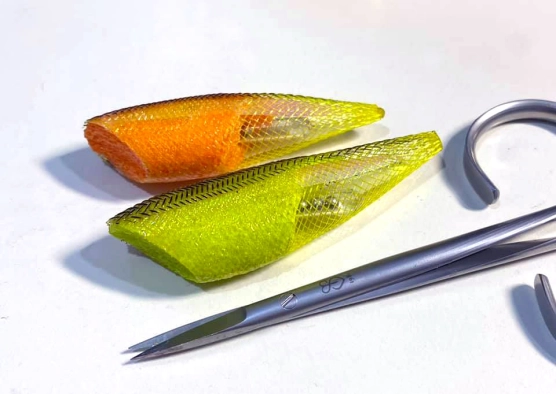
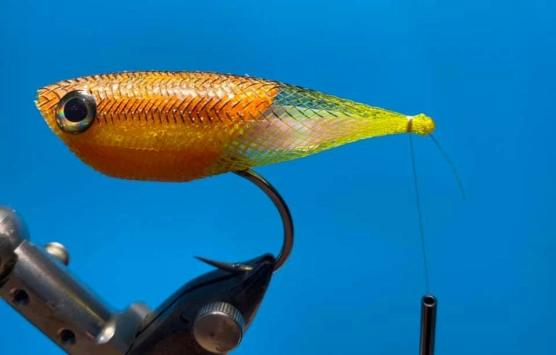
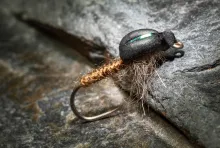
Dron Lee from Malaysia has created this excellent little popper using a combination of foam and braided tube - and a rattle for some extra noise
I get a lot of fly tying ideas from the various social media, and one of the really inventive and exciting tyers to follow is Malaysian Dron Lee.
Dron ties all kinds of flies, but tends to use new and different techniques and often gets some really nice and easy flies as a result.
This popper is a good example.
When I bumped into it as a step-by-step on Dron’s Facebook wall it didn’t have a name yet, but thanks to a bunch of suggestions from Dron’s Facbook friends, it wound up being called the Rattle.Bum Popper. That particular name was originated by Stephen Bussell, another Facebook user.
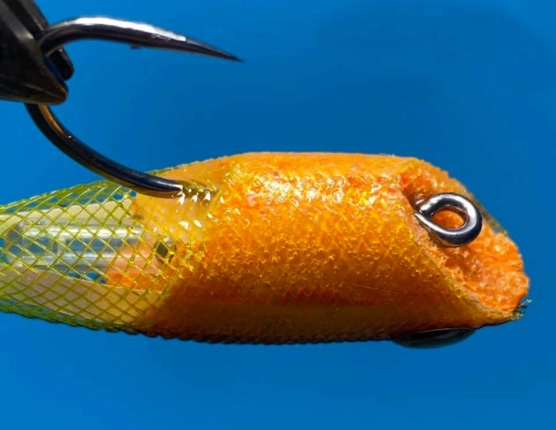
Like many of Dron’s flies it incorporates foam. It utilizes the foam for flotation, some braided tubing to form a body and eyes and flash and yarn fibers to make a tail. This makes it a perfect little colorful fish frantically escaping in the surface, making bubbles and noise thanks to its cupped front. It will also go zigging and zagging each time it’s stripped in, and as an added attractor Dron as mounted a rattler in the rear of the fly, yielding an even noisier fly. You can see it in action in the video below. It's a great fly for bass and other fish that react to some surface commotion.
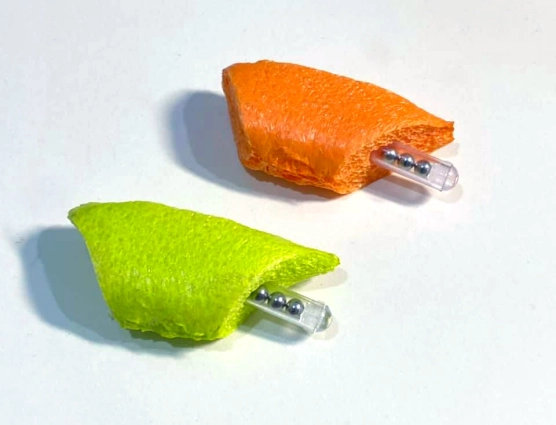
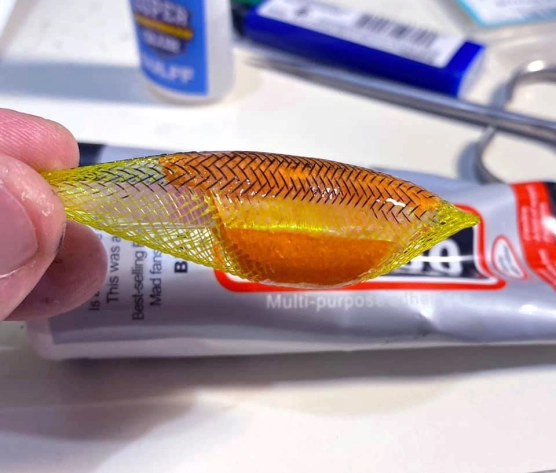
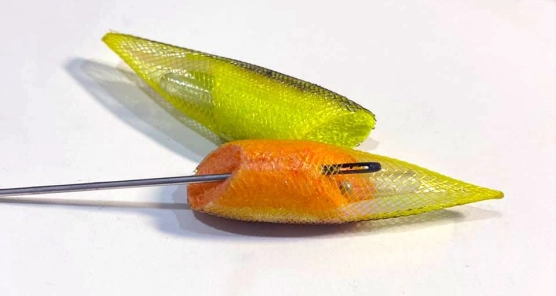
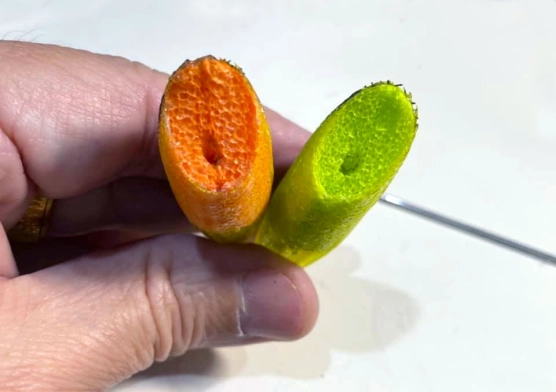
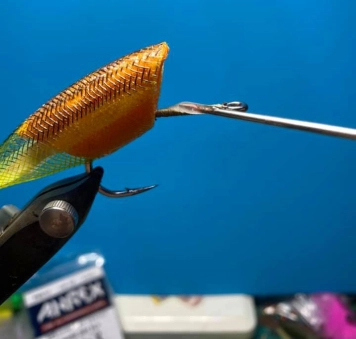
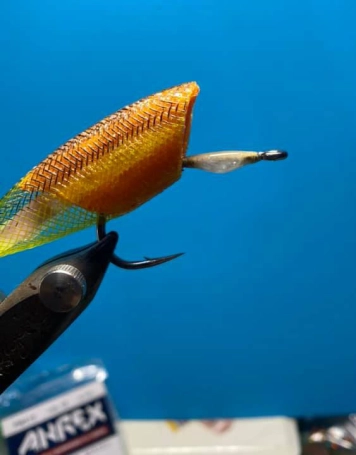
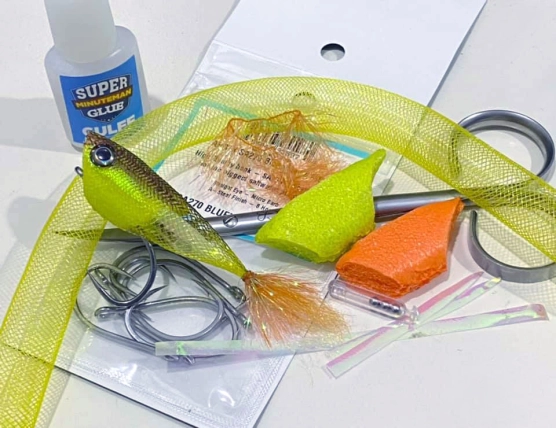
The base material for the fly is 5mm foam with a fused surface. This type of foam is often used for packaging and is mostly white, but can also be found in various colors – or be dyed with a waterproof marker. It’s folded over to form an oval cylinder, and cut in the shape shown in the pictures, which has an angle in the rear forming the base for tail, and a cup in the front creating the popping action. It can be hollowed in the front using a cauterizer. Dron also adds a small hole for the rattler, which is glued in place in the rear.
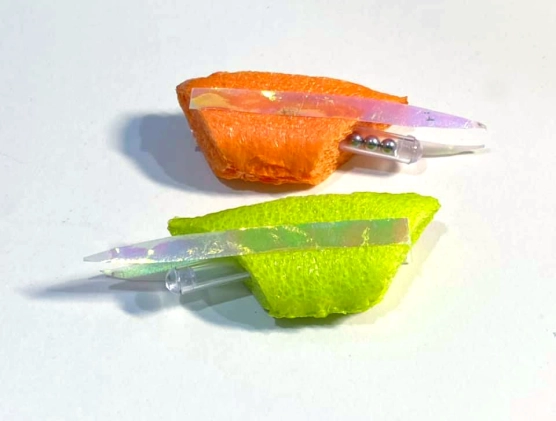
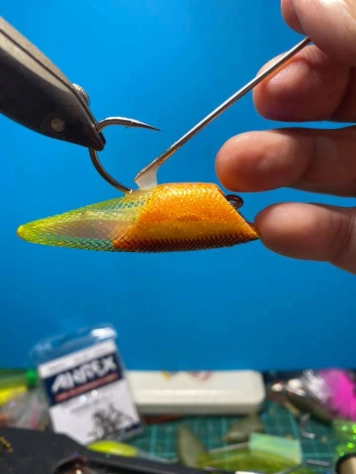
Two strips cut from a luminous, pearly sheet are glued in place on each side of the foam, which is then put into a piece of braided tubing at least twice the length of the foam. You can fuse the tube back and front using heat to form the body shape seen in the images. At this stage you can also have at it using waterproof markers to give the body a darker back or maybe some lateral stripes – or even both.
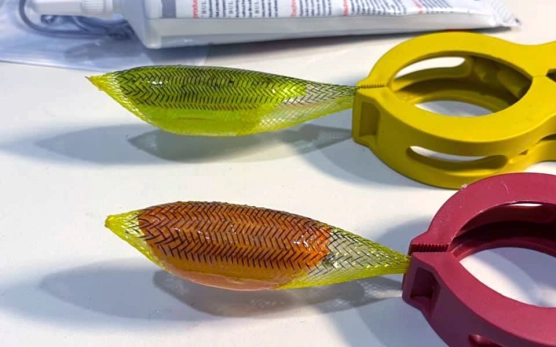
The body is then covered with a clear fabric glue that dries up clear and soft. Dron uses a type called F-6000, which is widely available and inexpensive. The glue fuses the braid to the foam and forms a nice surface.
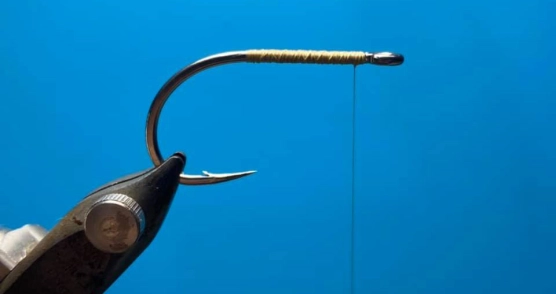
Once the glue is dry, Dron trims the braid off in the front of the fly to expose the cup in the foam, and then pokes a hole for the hook using a large needle. The hook shank should be covered with a tight and rough layer of tying thread before it’s mounted. This will make the glue bind better. The eye passes through the braid from behind and the hook shank is epoxied in place. Also add some epoxy to the rear underside of the fly where the hook comes out for increased stability and durability. You can add the eyes using a dab of epoxy while it’s out anyway. Let the epoxy cure.
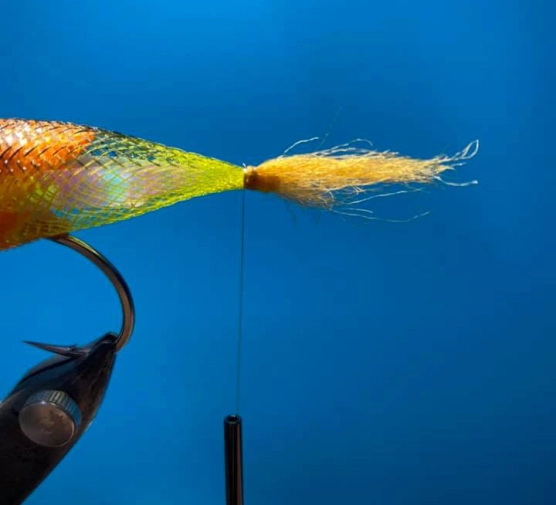
Finally the tail is added by fraying up some polyyarn and using its fibers together with some flash – either a bunch of single straws or some flash chenille. Simply tie in or wrap a tuft of both and trim it to a suitable shape. Varnish or glue the wraps after whip finishing and cutting the thread.
When everything is dried and cured, your popper is ready to fish.
- Log in to post comments

