Making your own durable, fabric covered rod tubes that can hold several rods each is pretty easy
While going through my archive of pictures, I stumbled over a series from 2005 where I had documented an evening's project of making some quick and dirty rod tubes to use for storing and transporting several rods at a time.
One tube, one rod
All the rods I had were in tubes, but one tube for each rod. I wanted something a little more practical, able to hold 2-3 or even 4 rods at a time, enough space to hold rods for one trip. We had long had Steve's article on plastic tubes, which was very popular, but I wanted some tubes more like the ones you got with most rods: durable plastic tubes covered with fabric and closed with a zipper.
Off to the plumber
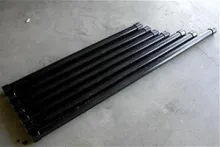
For that I needed some tubes, and luckily almost any hardware store, builder's depot or plumbing store will have what you need: PVC pipe used for drains and sinks. You can get it in almost any diameter you fancy, from something so thin it will only hold a single of the tiniest of rods with the smallest guides, to something so beefy that the average rod collection will fit in there – all rods included.
In the US useful measures start as low as 1 1/2 inch and go in jumps half and inch at a time up to large drainpipe in 4 inches and more. The metric measures are in millimeters, and pipe in the 40mm range is useful, and you can typically get 50, 63, 75, 90, 110 and 125 millimeters depending on the standards in your country.
Tight, but not too tight
Luckily we don't have to worry about the precise measures for this project. We just need to make sure that the rods we want to store will fit. Simply bring the rods to the shop and try. Select a pipe that holds what you need, but allows you to put your rods in their socks easily inside the tube, but still holds them tightly. You don't want any guides to be squeezed, but it's OK if you need to arrange the rods a bit before they slide in.
You need the pipe to be long enough to hold the longest broken down rod you want to store plus a bit more – like an extra inch or two, Remember that you always can shorten the pipe a bit. Extending it is another matter...
Off to the fabric store
Apart from the rods you need some fabric. I used some heavy weight black Cordura type fabric that I already had. You want something that can take some wear and tear, but also something that gives a little. Not elastic as such, but with enough stretch to be able to slide on and off the tube after it has been sewn as you see in the pictures below.
Since most fabric isn't wide enough to fit the length of the average rod tube, you will need to buy a piece at least as long as the tube plus a few inches to cut into. You will probably only need half the piece for one tube, so you can do like I did and buy two pipes at once and make two tubes.
You will also need zippers long enough to reach around the pipe.
The process
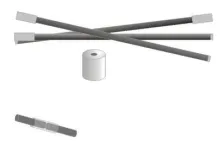
For tools you will need scissors, needles, fabric marker and a sewing machine. Some gaffer tape can also be nice to have to cover the sharp edges of the pipe, and a bit of mattress foam to make a couple of plugs will make your tubes last longer.
Arm your sewing machine with a suitable and strong thread and simply follow the image sequence in this article.
The tube
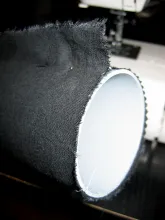
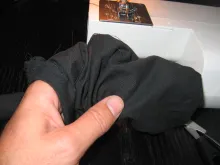
- You will need a piece of fabric that will wrap around the pipe with some extra width for a seam and some extra length for a lid.
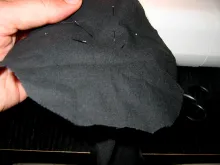
- Wrap it round the pipe - final outside in - and stick pins into the seam to make a fabric tube.
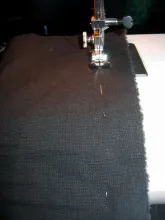
- Slide the tube off the pipe and sew along the pins removing them as you go.
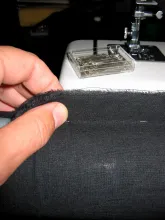
- Trim off the excess fabric outside the seam - but not too close.
The bottom
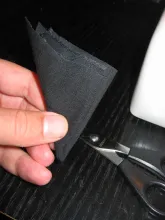
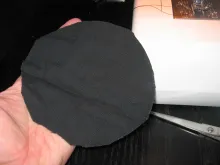
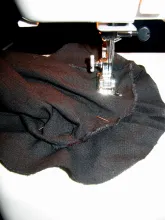
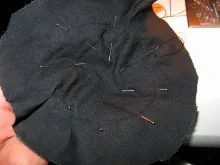
- Cut a round piece of fabric for the bottom.
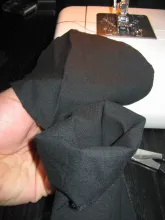
- Make a "flange" on the tube to sew the bottom onto, fasten with pins and sew it. Trim off the excess.
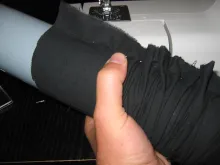
- Remove the pins and turn the tube inside out - which will hide the seams and the "flange" on what is now the inside.
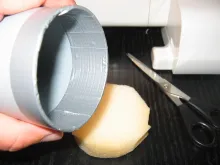
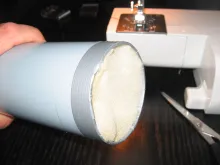
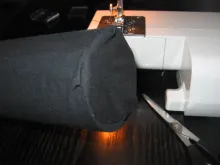
- Pull the fabric tube back onto the pipe after putting in a foam bottom plug.
|
|
|
|
|
|
|
|
|
|
|
|
|
|
|
|
The zipper
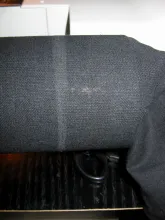
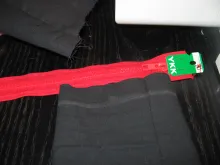
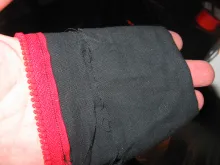
- Mark the position of the zipper.
- Pull the fabric tube off the pipe again.
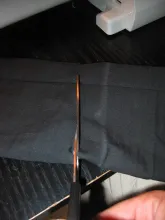
- Cut the fabric tube with a little space for a fold.
- Save the remaining fabric tube for the lid.
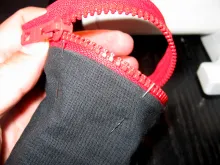
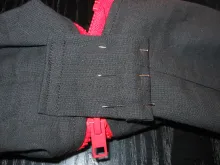
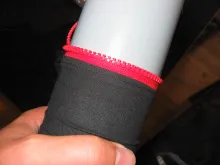
- Fold the top of the tube in and pin on one half of the zipper on the inside.
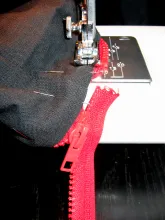
- Sew and remove the pins.
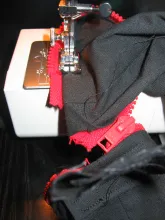
- Repeat with the remaining tube and the other part of the zipper for the lid.
- Cut a small square of fabric and fold in the outsides to form seams.
- Attach with pins over the zipper, connecting the lid and tube as a "hinge".
- Sew it on.
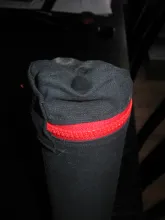
- Pull the fabric tube back on the pipe.
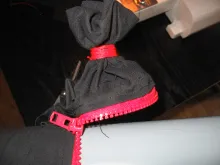
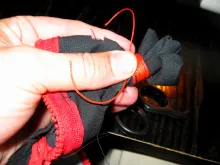
- Finish the lid - with string as I did or with a "proper" fabric disc like the bottom.
|
|
|
|
|
|
|
|
|
|
|
|
|
|
|
|
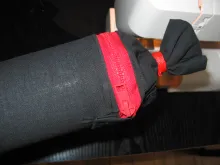
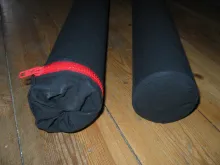
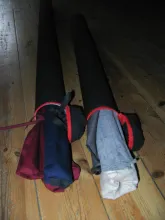
The result
- Log in to post comments








nice job
Nice project idea for winter time!
I think it worth a little more effort to fix the lid that nice way like the bottom is made.