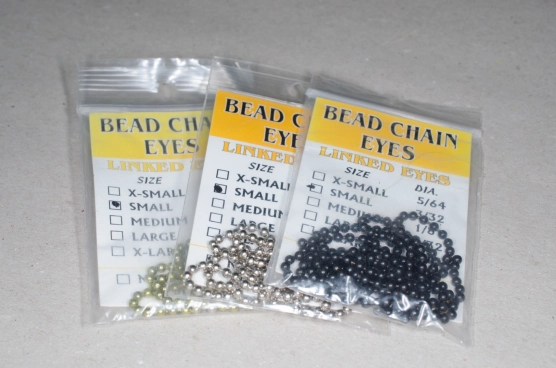
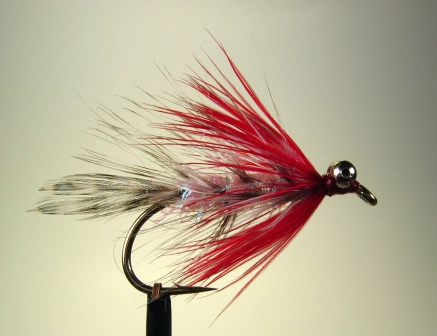
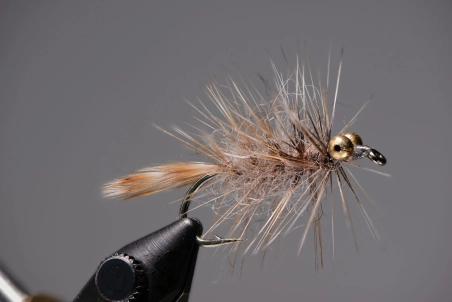
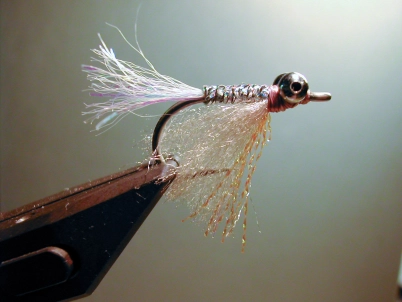
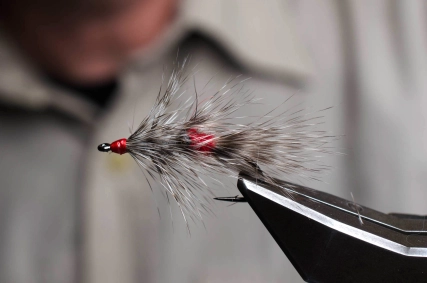
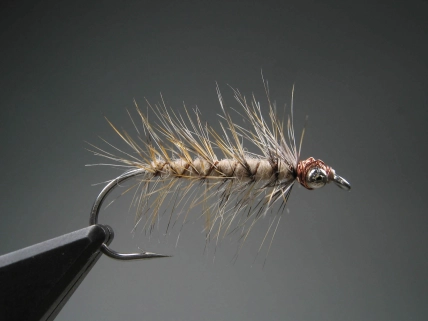
Plain and simple bead chain is one of the cheapest fly tying materials around, but very useful and a great addition to many flies.
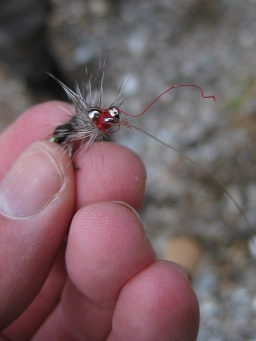
Bead chain was one of the first materials I ever used for flies, and many of my first flies have eyes made from this simple and cheap material.
And back then – as well as now – simple and cheap are the keywords. I liked inexpensive stuff then as I do now, and I'm almost sure that my first bits of bead chain were harvested from some bathtub chain or key ring.
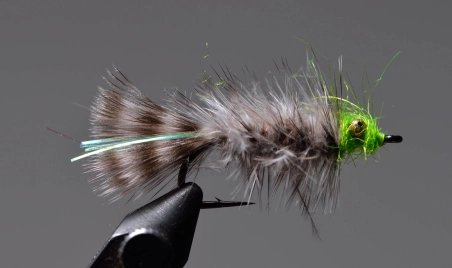
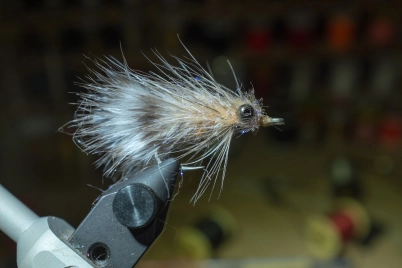
Also, a lot of the patterns I tied when I started, actually prescribed bead chain eyes, which have always been more common on Danish saltwater flies than actual dumbbells. At the same time I like bead chains over dumbbells (for other reasons than price). They are lighter, which suits me well since I just want a little extra weight on most of my flies, and not quite as much as will be added by lead or tungsten dumbbell eyes.
Bead chain is sometimes also referred to as ball chain, and is used for various purposes out in the real world, chaining plugs to sinks and bathtubs, attaching keys to trousers and even rolling blinds up and down. They are also used as jewelry and even for bead curtains. All these common uses leads to fairly easy access and low prices... unless you of course buy bead chain in a flyshop.
Types and colors
Bead chains are essentially identical in construction no matter what type you get. They consist of small hollow balls, connected by a row of "dog bone" shaped rods. The balls are made from a metal plate, shaped and bent to form a ball. Most beads have a narrow seam along one side, and aren't soldered or glued in any way. The chain is flexible, but not much, and when we use it for tying, we usually only use two balls, and simply cut the connecting rod, which usually disappears into the ball, leaving a hole, which conveniently forms a pupil in the eye.
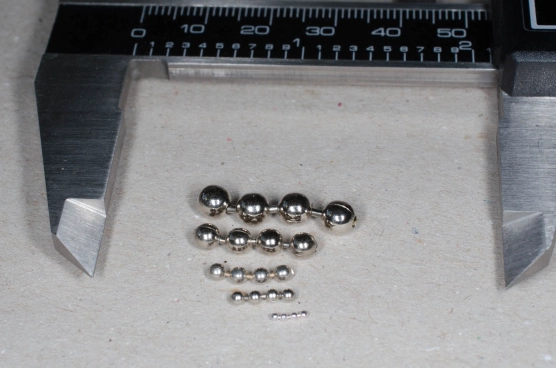
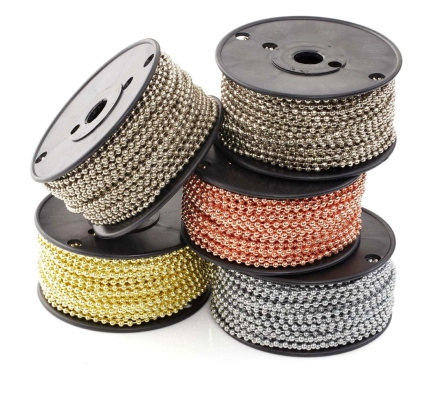
Bead chains are available in a huge array of sizes and colors. Sizes start as small as a 0.5 millimeters (1/50") diameter and typically go up to about 3.5-4.5 millimeters (3/16"), which is actually really large beads. Larger bead chains may be found, but the way they are constructed sets a limit to the size.
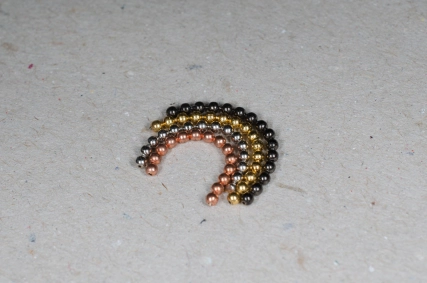
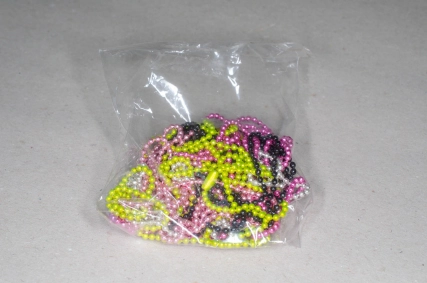
You can get the chains in many colors. Most are metallic, like silver, copper, brass and various hues, which come from anodizing, but some eyes come in solid colors like black and white and even bright colors, which are typically obtained by simply painting the chains. Silver isn't just silver, but comes in all kinds of variations like gun metal, bright silver, chrome, antique and many more shades.
Sources
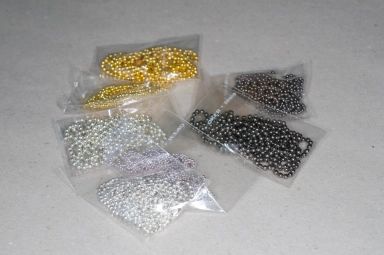
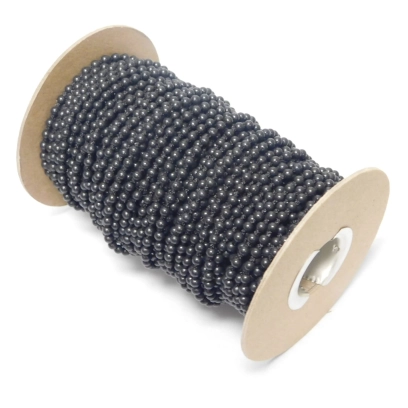
You can buy bead chain eyes in fly shops and order them online in webshops that cater to fly tyers, but it probably won't surprise you that this is about the most expensive way you can buy bead chain. You typically get foot-long pieces for a few dollars a piece. It's not expensive, but it is – like so many other fly-tying materials – large pieces cut into small ones, put into small bags, labeled and sold at a premium.
Basically all other sources are less expensive, and since bead chain is a hardware item, plain old hardware stores are the first obvious place to look. Since bead chains are also used for blinds, bathrooms, jewelry and key chains, places that sell curtains, bathroom appliances, jewelry-making accessories as well as locksmiths are also places worth looking.
Of course online sources like eBay and Ali Baba can be worth browsing too, and I have bought 12 28" lengths of bead chain in different colors from China for 4 US$ in the form of necklaces. Bulk spools of various qualities, colors and sizes can also be found occasionally.
Tools
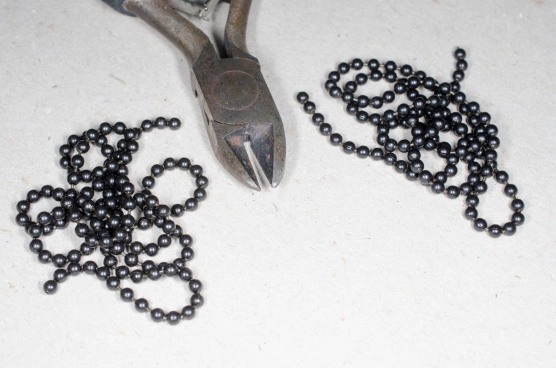
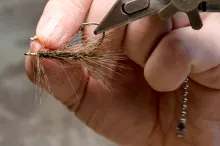
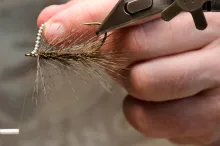
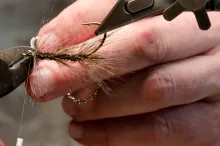
You can cut the bead chains with a set of rough scissors, but the best way is using a small pair of diagonal cutting pliers. Get a small pair used for jewelry or electronics, and select a pair with a spring opening mechanism if you have the choice.
The links connecting the chains are fairly soft and don't require the best tools, but fine pointed pliers are better to use when the beads are cut after they are tied on as described below.
Over or under, fore or aft
Whether you mount the eyes on top of the hook shank or under has influence on several things, fly balance and looks in particular. I personally like to tie the eyes under the hook shank. This gives a better balance and a more natural look to the final fly. But you may want a different look or even desire to get the hook to ride upside down, and then eyes on top of the shank might be called for.
On many flies such as a Clouser Minnow or Crazy Charlie, there's no choice: the eyes go on top of the shank, both for looks and balance.
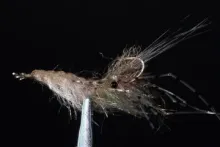
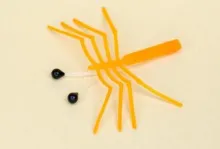
You can also vary the position along the hook shank. Most common is tying in the eyes in the front of the hook, right behind the hook eye, but lots of patterns call for eyes in the rear and even in the center, particularly shrimp flies, which are often tied with the front of the fly being the rear end of the hook.
The technique is the same no matter what position you choose.
...don't cut in advance!
Cutting
Now, thinking that the eyes are going to be used two and two, you might be tempted to prepare, and simply cut the chain into pairs of eyes right away. That way they are pre-cut and you don't have to use the pliers every time you tie on a new pair.
But don't cut in advance!
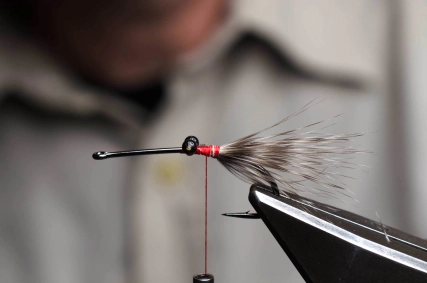
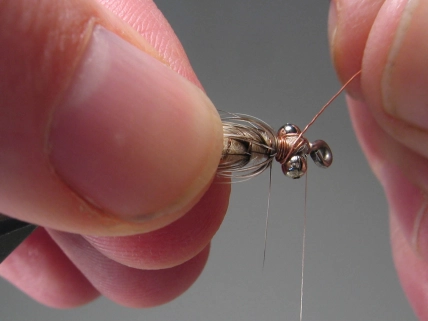
Once the chain has been cut, each pair of eyes are pretty hard to handle, and require a lot off dexterity to place on the hook and tie in. It's much easier to handle the full chain, place the terminal pair of eyes over the shank, take a few wraps over the center, and then cut off the pair using the pliers. The eyes are secured and it's easy to get them to sit perpendicular to the shank using the following wraps.
Securing
The most obvious way to secure the eyes is using super glue, but you can actually get pretty far with thread alone. It just requires some technique.
You can tie the eyes directly on the bare hook shank or on a thread base, but tying the eyes on the top of other materials will most likely lead to them being prone to come loose and rotate.
If you lay down a base of thread, make sure it's wrapped firmly and dense. Loose wraps are like any loose material: it will not help securing what's tied on top of it.
So lay the eyes in the position where they are meant to end. Do not move or rotate them after you have made the first wraps. You can take one wrap to hold them while adjusting them, but then tighten that wrap and make sure the following wraps are firm and tight, just bordering on the breaking strength of you thread. Without tight wraps below, additional wraps on top won't be nearly as strong.
Henning Eskol
Askew, perpendicular, horizontal
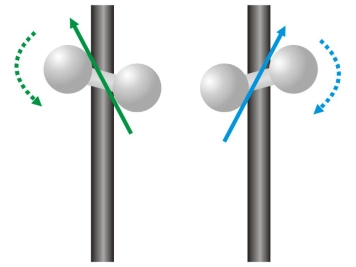
The eyes need to be properly placed from the outset. Make sure they are horizontal when seen from the front of the fly. The "rotation" of the eyes, whether they are perpendicular to the hook shank, isn't quite as important as long as they aren't completely off. Once you start wrapping, you will wrap crisscross over the eyes, and the direction you choose will help aligning the eyes in a 90 degree angle to the hook shank.
Even a single wrap or two can help adjusting the angle. Once the eyes are in place, you wrap equal wraps one and the other way over and between the eyes.
Final horizontal wraps
Once the eyes are in place and sit as tight as you can get them, take some horizontal wraps under the eyes but over the hook shank. These wraps will pull the crisscrossing wraps together in an hourglass shape and make them hold the eyes even tighter to the hook shank.
While doing all these wraps, make sure you don't nick the thread on the openings in the balls. Each is made from a small plate bent into a ball, and has a crack where it's connected – as well as the opening where the dog bone link sits. These can have some really rough edges, and in combination with the pull on the thread, even the least fraying of the thread almost inevitably leads to a broken thread.
To fill or not to fill
Once the eyes are in place and secured, you can essentially continue the fly. On some flies, like a Clouser Minnow, the eyes are tied in before other materials, and you simply continue tying the rest of the fly.
In other cases, like many Woolly Bugger style flies, the eyes are the final material, and you simply whip finish and cut off the thread.
You can also select to fill the gap and keep on crisscrossing thread over, and in front and behind the eyes, forming a small head where the eyes sit on the outside.
You can put varnish or super glue on the wraps, which can help secure the eyes even more. I don't use much superglue in my tying, but basically always varnish the wraps over the eyes. It secures the thread, and even makes it tighten more. Since the eyes weigh a bit, they tend to want to work loose over time if not properly secured, and if the thread breaks or unravels and isn't varnished, it will slowly start coming loose, eventually loosing its grip on the eyes, which will rotate and - in the worst case - simply fall off.
Once the eyes are in place and firmly attached, you can cover them with various materials like yarn, dubbing or even wire. This forms a head, and can work well on various nymphs and baitfish imitations.
Other uses
On some patterns, bead chain is used for weight in a different manner, namely tied along the hook shank. In that case you typically use a row of 4-6 beads and tie them under the shank to add weight and balance.
When used in this manner, you need to use equally tight wraps, but it's typically way more difficult to get the chain to sit. In order to secure them you are almost required to use glue or a light curing resing.
The technique is often seen on keel flies, certain pike flies and crab flies.
Plastic chains
You can get bead chains made from plastic. These are mainly used for pulling curtains and blinds and are made differently from the metal bead chains. They come molded as log rows of small balls on a firm plastic rod or single beads molded directly on a braided thread. For fly tying you probably want the more rigid version. These can be useful for flies where you don't want the added weight. Some of these chains have a longer distance between the balls, which can make them very useful for certain patterns like flat nymphs where you want a wide head with a good distance between the eyes.
Martin Joergensen
Hand picked for this article
- Log in to post comments

