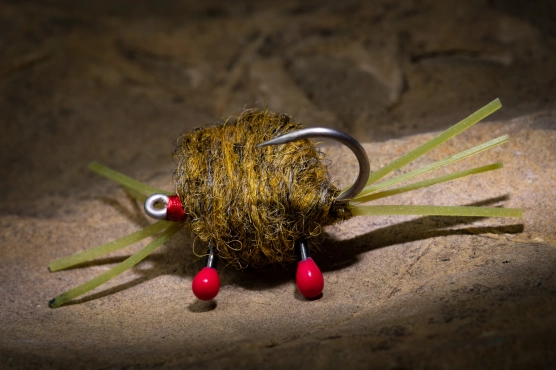
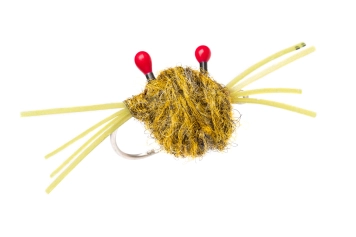
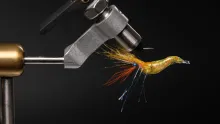
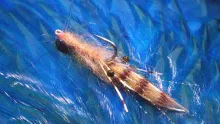
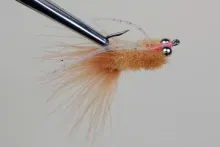
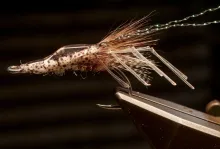
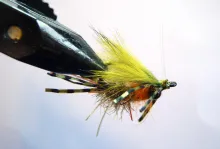
As everyone knows crab-like means moving sideways, not forwards or backwards. The Canvas Crab fly moves sideways as crab flies should.
Most crab patterns are tied, like almost all flies, symmetrically about the axis of the hook. Tying in bunches of yarn and then giving the result a haircut until it has a flattened shape will suggest the shape of a crab, but it’s not going to go in the right direction when you move it.
As everyone knows crab-like means moving sideways, not forwards or backwards. A crab imitation that scuttles sideways requires having the body on one side of the hook. Building a body off to one side of a hook needs some form of foundation. I now carry two crab imitations in my saltwater fly box, one heavyweight and one lightweight, and both are designed with the body on the side of the hook.
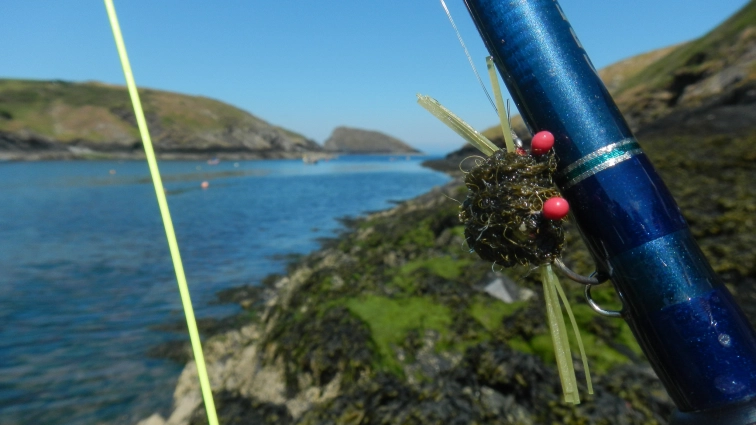
The first, the Credible Crab, has an armature of metal bead chain on the top of the hook to form the body shape. This adds weight and makes it fish point up, which is useful for fishing snaggy ground. The second is the Canvas Crab which is built on a lightweight plastic skeleton. It also has, like the real thing, its eyes on stalks. This one is great for fishing shallow water on sandy beaches.
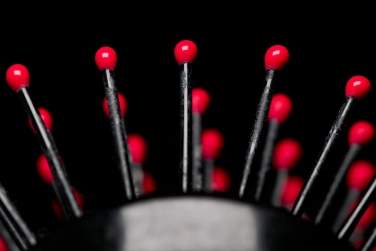
You know when you have the fly-tying material scrounging habit really bad when you look at a plastic hairbrush and start thinking about crab eyes. That’s where the stalk eyes on the Canvas Crab come from. I ‘borrowed’ mine, but you may find it safer to go and buy a cheap brush.
To prepare the eyes cut the round tipped bristles from the brush. Bend one between a finger and thumb and carefully bring a lighter flame close to the bend. When you feel the tension in the plastic relax remove the flame and bend the plastic into a right-angle bend. Trim the base of the plastic to leave a short piece to tie in the eye stalk.
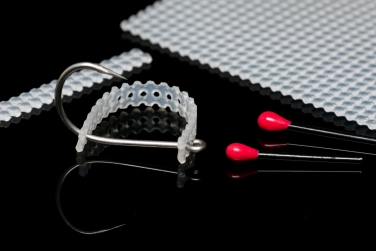
The body of the Canvas Crab is shaped using a strip of plastic canvas. This useful material is sold as a base for making pictures using cross-stitch and other embroidery techniques. The flexible translucent material is about 1mm thick with a grid of holes and is readily available in craft shops or online in different sized sheets. The stuff to buy is described as 14 count or 14 mesh, which has 14 holes per inch.
It makes tying flat bodied flies a walk in the park. I use it quite a bit to tie patterns for rivers and lakes. Cutting out a shape and tying it on top of a hook with cross-wraps makes a great underbody onto which to tie imitations of critters with a flattened body. I use it in the Partridge Hoglouse, an Asellus aquaticus imitation which is one of my favourite designs, and features on the front cover of my book Fly Couture.
To prepare the crab body skeleton prepare a strip of plastic canvas by cutting along two rows of holes with a row in between. Crush the hook barb in your vise and push the point through the hole at one end of the canvas strip and slide it up to the hook eye. Now bend the plastic back to form a loop that is the right size for the crab shell, push the hook point through and slide the end onto the straight shank. If the loop is too small or too large, pull the plastic off and use another hole. Once you’ve got the right length trim off the surplus and slide the back end off the hook.
You can substitute a variety of materials to wrap the body. Wool, chenille, or organza ribbon will all work, so experiment with whatever you’ve got to hand.
Tied as described the crab is a slow sinking or neutral buoyancy pattern. You can add weight with some copper or lead wire wraps if you like, but I like to fish it as it is. It’s a great pattern for fishing shallow water. Wet it well and squeeze any air out of the hollow body and it will slowly sink and skittle along the sand as you retrieve it. Letting it settle and then twitching it raises a puff of sand which is very attractive to hunting bass or flatfish. For deeper water, or when there’s a bit of surf running, fish it on a dropper above a weighted fly so that it wafts back and forth in the current looking all lost and vulnerable.
Nick Thomas
- Log in to post comments

